Step by Step Opal Matching Process for Jewelry Makers
Posted by AOD on 28th May 2026
Step by Step Opal Matching Process for Jewelry Makers
TL;DR:
- Selecting multiple harmonized opals requires a disciplined process focused on consistent color, clarity, and cut. Proper evaluation involves standardized scales, multiple light sources, and detailed documentation to ensure coherence and long-term durability in jewelry sets. Developing this skill enhances both the aesthetic value and professional reputation of jewelry makers and collectors.
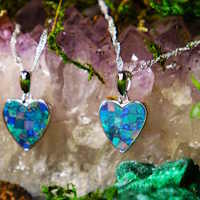
Selecting a single opal is an art. Selecting two or more that belong together is a discipline. The step by step opal matching process is what separates jewelry that merely contains opals from jewelry that feels intentional, luminous, and coherent. Mismatched stones, even beautiful ones on their own, can flatten the visual impact of a finished piece and quietly erode its perceived value. Whether you are a hobbyist assembling your first earring pair, a collector building a coordinated set, or an aspiring jewelry maker developing your eye for quality, learning how to match opals with precision will transform the way you work with these extraordinary stones.
Table of Contents
- Key takeaways
- What to prepare before you start
- The step by step opal matching process explained
- Common mistakes that compromise opal matching
- Verifying and finalizing your matched sets
- My perspective on why matching is an undervalued skill
- Explore matched opals at Australianopaldirect
- FAQ
Key takeaways
| Point | Details |
|---|---|
| Master the Three C’s first | Color, clarity, and cut form the foundation of every sound opal matching decision. |
| Use standardized scales | Body tone (N1 to N9) and brightness (1 to 5) give you objective language for comparing stones. |
| Inspect under multiple light sources | Play-of-color shifts dramatically between natural, incandescent, and LED light, so always check all three. |
| Avoid untreated vs. treated pairings | Mixing natural and treated opals in one set compromises both aesthetics and long-term durability. |
| Document every matched set | Written records of characteristics protect value, support resale, and build client trust. |
What to prepare before you start
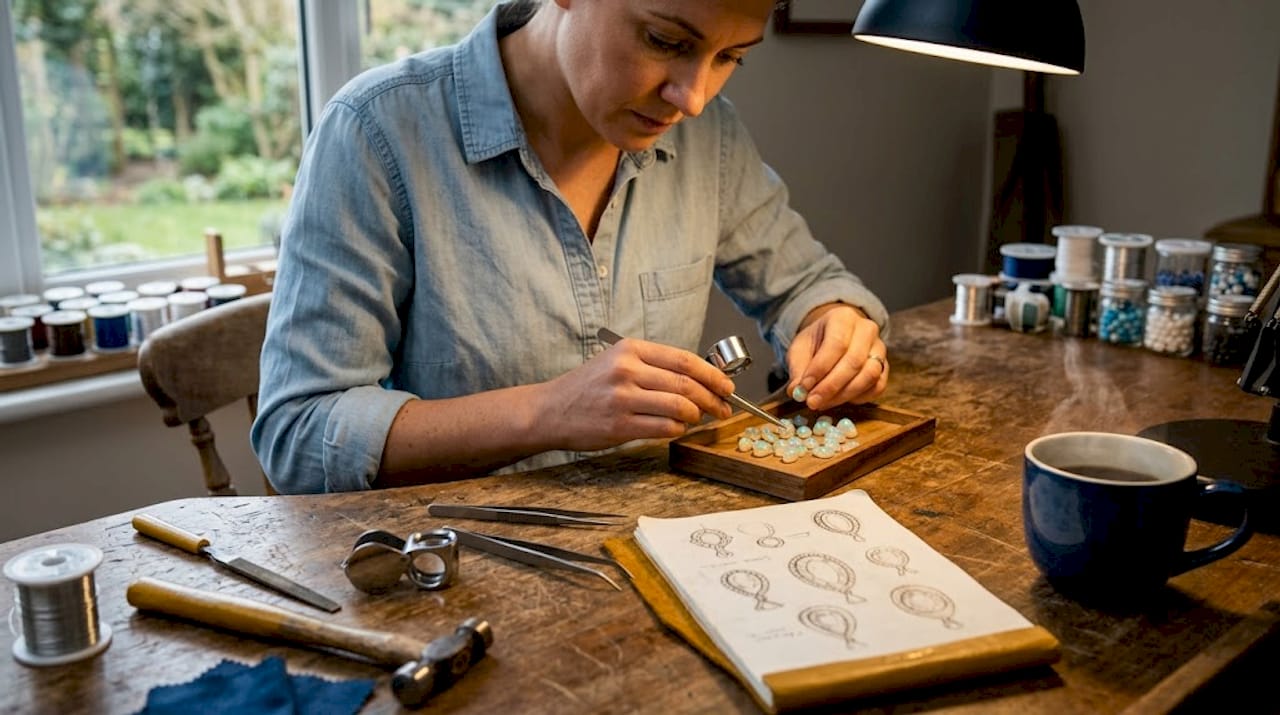
Before the first stone is placed on the sorting cloth, preparation determines how smoothly the rest of the opal matching process will go. Working without the right tools and baseline knowledge is the fastest way to make expensive mistakes.
Tools and materials you will need
- A 10x loupe or jeweler’s magnifier for close inspection of surface features and internal clarity
- A daylight-balanced light source, plus an incandescent bulb and a standard LED, for multi-light comparison
- A dark velvet pad or matte black sorting surface to reveal play-of-color without distraction
- Calipers for measuring dimensions precisely, since matched pairs must share similar weight and proportion
- A body tone reference card (N1 through N9) and a brightness reference card (1 through 5)
- A notebook or digital form for recording observations on each stone
Knowledge you should have going in
Understanding opal types matters before you begin any stepwise opal selection. Boulder opals, white opals, crystal opals, and black opals each carry different base characteristics that affect how they pair. The opal gemstone selection process differs meaningfully across these categories, so knowing which type you are working with keeps your comparisons valid.
The industry standard for evaluating opal quality focuses on what gemologists call the Three C’s of opals: color (play-of-color patterns), clarity (absence of cracks or cloudiness), and cut (symmetry and dome height), with brightness rated on a scale where 5 glows even in low light. Internalizing these benchmarks before you pick up the first stone means your assessments stay consistent from stone to stone.
Documentation and certificates
For opals valued over a certain threshold, certification matters. Certificates for opals over $500 should state gemstone identification including natural or treated status, origin, weight, color description, clarity, cut, treatment disclosure, dimensions, and the certifying authority. Request this paperwork before matching begins, not after.
Pro Tip: Request certificates that include a unique certificate number. A number you cannot verify through the issuing authority is a red flag worth investigating before you commit to a purchase.
| Tool | Purpose |
|---|---|
| 10x loupe | Inspect clarity, surface cracks, and potch lines |
| Multi-source lighting | Reveal true play-of-color under varied conditions |
| Body tone/brightness cards | Standardize subjective comparisons objectively |
| Calipers | Confirm dimensional matching for paired settings |
| Certificate documentation | Verify natural or treated status and origin |
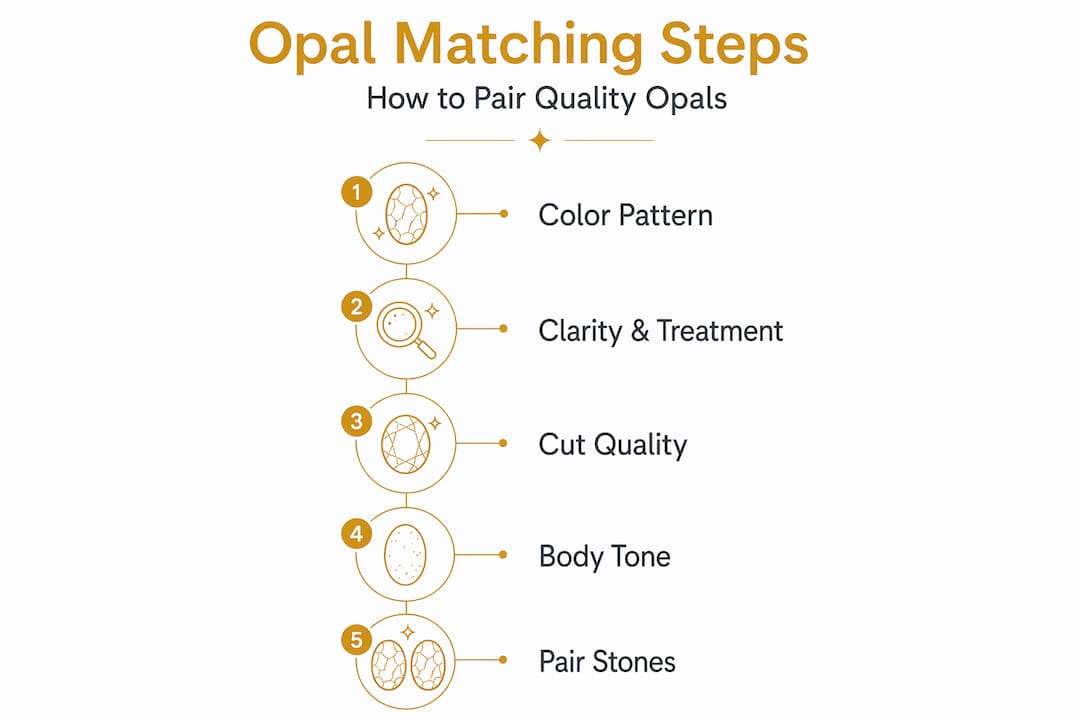
The step by step opal matching process explained
This is where the opal color matching process becomes methodical. Moving through these steps in order prevents the most common matching errors and builds the confidence to make decisions that hold up over time.
Step 1: Examine color and play-of-color patterns
Place each opal on the dark sorting surface and observe it under daylight-balanced light first. Watch how the colors move as you shift the viewing angle. High-quality opals show consistent play-of-color visible from multiple angles and lighting conditions. Note the pattern type: pinfire (small, dense flecks), flash (large sweeping color shifts), or harlequin (broad, irregular mosaic patches). For a matched pair, these patterns do not need to be identical, but they should belong to the same visual family. A pinfire stone paired with a harlequin stone will fight each other in a finished piece rather than complement each other.
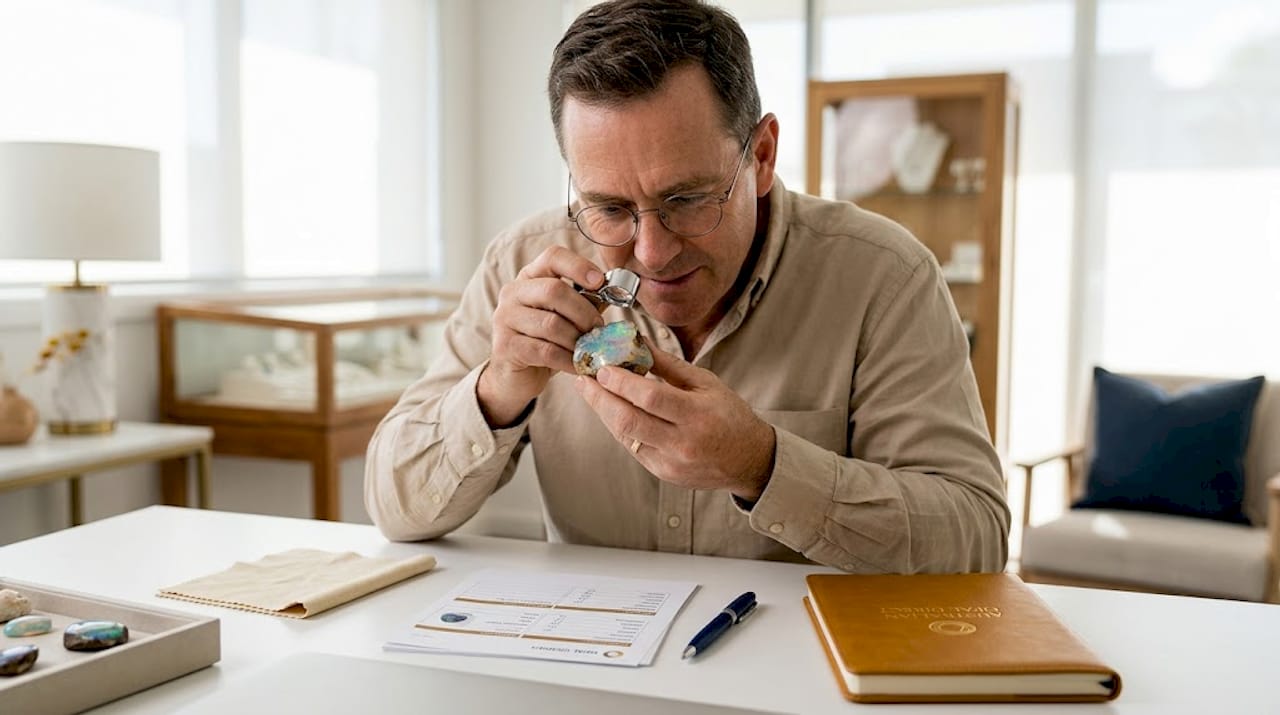
Step 2: Assess clarity and detect treatments
Under your loupe, examine each stone for crazing (fine surface cracks), potch lines, and cloudiness. These features affect both appearance and structural integrity. Beyond natural flaws, many opals undergo treatments like smoking or sugar acids for color enhancement and stability. Treated opals can still be beautiful and useful, but pairing a treated stone with a natural one in the same set creates problems. Their aging behavior diverges over time, and ethical disclosure to clients requires you to know exactly what you have. Authenticate each stone before placing it in a comparison group.
Step 3: Evaluate cut quality, symmetry, and dome height
Pick up each stone and hold it at eye level. The dome height should feel proportional and consistent across candidates for the same set. Symmetry affects how the opal sits in a setting and how light enters the stone. A high dome concentrates play-of-color more dramatically; a low dome spreads it. Neither is wrong, but they create different visual effects, and matched pairs should share the same dome profile within a few millimeters. Use your calipers to confirm this. Inconsistent dome heights in earring pairs, for example, become immediately visible when worn.
Step 4: Compare body tone and brightness
This step gives the opal matching process its most objective grounding. Body tone runs from N1 (the darkest black) to N9 (the palest milky white), with darker body tones typically yielding higher value and stronger play-of-color contrast. Brightness runs from 1 (dull and flat) to 5 (vibrant even in dim light). When matching opals for a set, aim for stones within one grade of each other on both scales. Two N3 stones with brightness ratings of 4 and 5 will look close enough in natural light but will diverge noticeably under incandescent light. One grade of difference is generally acceptable; two grades is not.
Pro Tip: Take photographs of each stone under each light source during this step. Side-by-side images on a phone screen reveal tone and brightness differences your eyes may have normalized after extended close inspection.
Step 5: Pair stones with aligned characteristics
After assessing all four dimensions individually, group your candidates into potential matched sets. Lay them side by side on the dark surface and view them simultaneously under each of your three light sources. You are looking for visual harmony, not mathematical perfection. The stones should feel like they came from the same place, even if they did not. Pay attention to how the color palette reads together. Two stones with different dominant hues (one blue-green, one red-orange) will clash in a matched setting unless the design intentionally contrasts them.
The opal quality grading guide for collectors offers additional grading language that helps when communicating match quality to clients or collaborators.
Common mistakes that compromise opal matching
Even experienced collectors fall into patterns that undermine their results. Recognizing these pitfalls is as much a part of the opal matching guide as the technical steps themselves.
- Ignoring body tone variation. Two stones that look similar in bright light can reveal very different tones under dimmer conditions. Always compare under multiple light sources before deciding they match.
- Mixing natural and treated opals in one set. Treated opals may have altered appearance and durability concerns that diverge from natural stones over time. A set that looks cohesive at purchase may look mismatched within years.
- Overlooking durability for jewelry use. Cabochon-shaped opals with smooth domes are more durable and suited for daily-wear jewelry. Matching stones by color alone without considering structural integrity leads to sets where one stone chips or crazes while its partner remains pristine.
- Skipping verification of supplier transparency. Reliable suppliers provide inspection periods and disclose restoration and treatments in formal invoices. A supplier who cannot confirm species, locality, and treatment history is not a safe source for matched sets intended for resale or client work.
- Accepting the first plausible pair. Settling too quickly is the most common and most avoidable mistake. The right match often requires cycling through dozens of candidates.
“The opal that captures your imagination in isolation may be entirely wrong for the stone beside it. Matching is not about individual brilliance. It is about collective coherence.”
Learn to ask opal sellers the right questions about treatments and provenance before any purchase for matching purposes.
Verifying and finalizing your matched sets
Once you have identified candidate matched pairs, verification before commitment protects everything that follows.
- Rotate under all three light sources simultaneously. Hold both stones next to each other and slowly rotate them. Any significant divergence in how their color shifts under changing angles indicates they will not read as a true pair in finished jewelry.
- Measure and record all characteristics. Log body tone, brightness rating, dimensions, weight, pattern type, and dominant hue family for each stone in the set. Documenting opal characteristics maintains collection continuity, builds client trust, and supports resale and insurance processes.
- Consider the intended setting style. Bezel settings protect opals best and are particularly recommended for matched pairs intended for everyday jewelry use. Knowing the setting before finalizing the match lets you account for how much of each stone’s edge will be visible and whether minor dimensional differences will be hidden or exposed.
- Live with the pairing for 24 hours. If possible, leave the matched stones on your sorting surface and view them again the following day with fresh eyes. Decisions made in the excitement of discovery often look different after the initial impression settles.
Pro Tip: When presenting matched sets to clients or collectors, photograph them in the intended setting context, even if you mock it up with a simple template. Seeing the stones in context confirms the match more convincingly than stones on a cloth.
My perspective on why matching is an undervalued skill
I’ve worked with enough opals to know that matching is where most people either develop genuine expertise or plateau. What I’ve found is that the technical steps are learnable in a season. The harder skill is learning to trust your own eye after the process is complete.
In my experience, the most common failure point is not in the assessment steps themselves. It’s in the pressure to finalize a set before you have enough candidates to compare. When you have only four stones, your brain will talk you into a match because it wants to complete the task. When you have twenty, you see real matches clearly because the right pair declares itself.
I’ve also seen how careful matching transforms a client’s experience. When someone receives earrings where the two stones tell the same visual story, the piece feels designed rather than assembled. That distinction is what builds the kind of reputation that sustains a jewelry practice over time.
For anyone starting out, my honest advice is this: develop your skill with the opal value factors that underpin the matching criteria. The more fluently you speak that language, the faster your matching eye develops. This is not about perfectionism. It is about integrity, toward the stones, toward the craft, and toward the people who will wear what you create.
— Renee
Explore matched opals at Australianopaldirect
For collectors and jewelry makers who want the matching process to begin from a foundation of genuine quality, Australianopaldirect offers something most online retailers cannot. Every stone is ethically sourced directly from renowned Australian mining regions, including Lightning Ridge, Coober Pedy, and Queensland, with full treatment disclosure and certification available on request.
When you shop Australian opal jewelry and loose stones at Australianopaldirect, you access a curated selection where quality has already been assessed before it reaches your hands. The direct-miner relationships mean no middlemen inflating prices or obscuring provenance, and the 90-day warranty gives you room to verify your matched pairs with genuine confidence. Custom design consultations are also available for those who need expert guidance pairing stones for specific settings.
FAQ
What is the step by step opal matching process?
The step by step opal matching process involves examining each opal’s color and play-of-color patterns, assessing clarity and treatment status, evaluating cut and dome height, comparing body tone and brightness using standardized scales, and then pairing stones with aligned visual and structural characteristics.
How do you match opals for an earring pair?
Match opals for earrings by selecting stones within one grade of each other on both the body tone scale (N1 to N9) and brightness scale (1 to 5), with the same play-of-color pattern family and similar dome height confirmed by calipers. Viewing both stones side by side under daylight, incandescent, and LED light sources seals the comparison.
Can you match treated and natural opals together?
Treated opals should not be paired with natural ones in the same jewelry set. Their long-term durability and aging behavior differ, which means a set that looks cohesive at purchase may look noticeably mismatched after years of wear or exposure to environmental factors.
How important are certificates when matching opals?
Certificates are particularly important for opals valued over $500, as they confirm natural or treated status, origin, and key quality factors. Matching opals without verified certificates risks pairing stones with misrepresented characteristics.
What lighting is best for opal color matching?
Use at least three light sources: daylight-balanced, incandescent, and LED. Play-of-color patterns shift significantly between light types, and stones that appear matched under one source can reveal divergent hue families and brightness levels under another.
Recommended
- Master the Opal Jewelry Design Process Step by Step - Australian Opal Direct
- Custom Opal Jewelry Workflow: Create Bespoke Designs Easily - Australian Opal Direct
- How to Commission Opal Jewelry: A Step-by-Step Guide - Australian Opal Direct
- 7-Step Custom Opal Jewelry Checklist for Collectors - Australian Opal Direct